
James Scott
July 18, 2014
Android Wear: Day 2
Setting up the Android Virtual Device
In the previous post, I suggested that you make the AVDs after making your project for a few reasons. Upon setting up the project, you selected which handheld and wear SDK levels you wanted (even though wear only has one level right now). 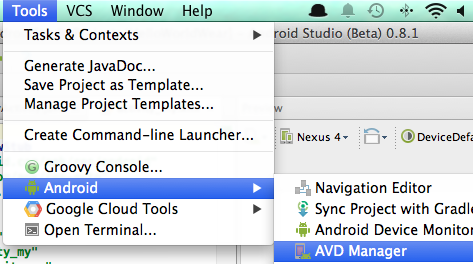
Now, you create your AVDs accordingly as specified here. After, creating the AVDs, you’re ready to go!
Since we are anxious to try the Android emulator out with the Android Wear image, make sure you change the menu beside the green play button to wear then press it. 
Kudos: Android Studio / InteliJ interfaces nicely with Mavericks’s notification system
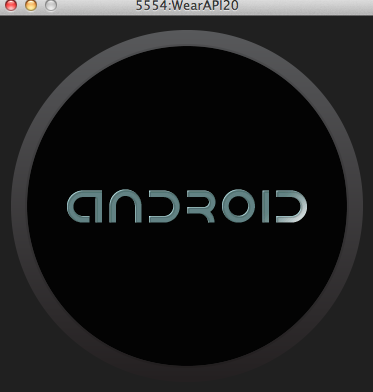
Android Emulator Starting Up
Unfortunately, I was unable to run the application due to an error. 
Did some searching and found out that other people have had the same problem. In this StackOverflow post, they address the problem. but I came up with a simpler solution by just changing the “compileSdkVersion” and “targetSdkVersion” as seen below.
After the change, the app should run and you should have hello world! 
More text