
James Scott
February 24, 2015
Jenkins + OpenShift + Bitbucket + Play Framework
First post of the new year! I have been very busy. This post will be a non-Golang post actually too. This post is just to help anyone who wants to setup their own free (that’s right, Free) hosted Jenkins CI Server, hook it up to a private repo and go over some of the GOTCHAs along the way (always some struggles when going the free route).
Table Of Contents
- Background
- Getting Your Jenkins Instance Up
- Give Jenkins Access To Your Private Bitbucket Repo
- Your First Manually Triggered Build
- Setting Up Automatic Builds Upon Push
Background
I have been experimenting with OpenShift gears because they offer free “Gears”. (For those that do not know, RedHat developed OpenShift which is another cloud PaaS. It’s actually built on top of AWS. With OpenShift, they use the word “cartridges”. You select cartridges which setup the environment and runtime for your applications. Then you just deploy your application to it and it runs.) In addition, I’ve been experimenting with a new side project (which is maintained in a private team repo in Bitbucket) that uses the Play Framework. At some point, I decided to use Continuous Integration for testing and deployment. I started using Codeship (which is a great tool) and I’ve used wrecker (also awesome) and TeamCity (awesome but have to self host). But there was just one thing that I always missed, I wanted to be in complete control in the long term which means I need to host it myself. As it is a side project, I don’t want to pay for something that I work on every now and then. OpenShift happened to have a cartridge that deploys a Jenkins instance. I’ve setup CI before, but being limited to the rules and permissions of OpenShift (e.g. you can’t read the .ssh folder in own home directory with the Jenkins cartridge) came with a lot of GOTCHAs. This post explains the journey.
Getting Your Jenkins Instance Up
Create an account on OpenShift.
Create an application and find the “Jenkins Server” application.

After the application is created, it will show you the password for the admin account. You might want to change it now after logging in the first time via going to https://<your_jenkins_ci_server_url>.rhcloud.com/me/configure
Let’s add one worker to do the builds
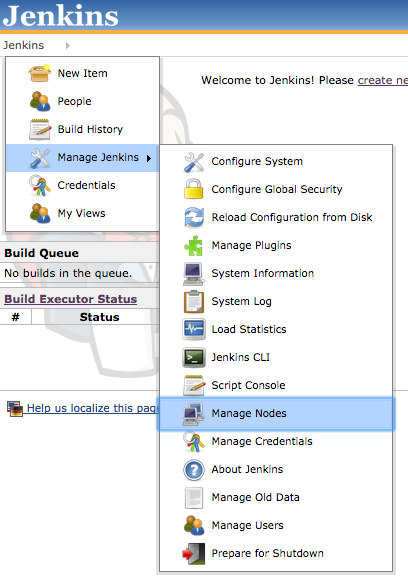
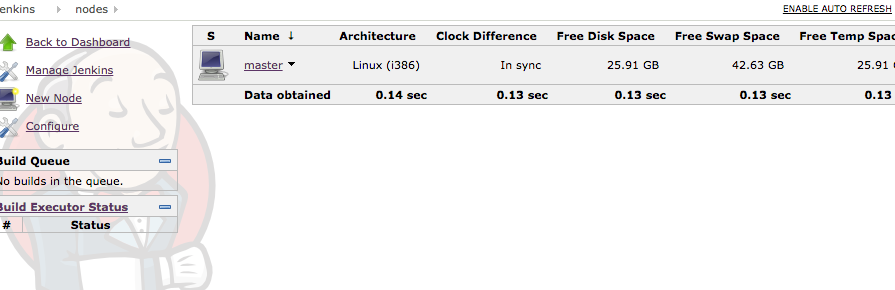
Manage Jenkins -> Manage Nodes
Click on the “master” node.
Update the plugins
Manage Jenkins -> Manage Plugins.

Go to the Advanced Tab
Click the “Check Now” at the bottom right and watch the plugins come flowing in.

Once you update the plugins list, you will see all the plugins that represent the power of Jenkins.
Give Jenkins Access To Your Private Bitbucket Repo
You need to get the SSH public key from your Jenkins Server so that Jenkins can authenticate with the repo.
Go back into the OpenShift applications Dashboard and click on your application. On the left side you should see this prompt:

Once you click on it, it will create give you the SSH command. Make sure you setup connection to the instance, RHC and all that other stuff first here.
Now, log into your application. If you try to access .ssh (which contains the public key for ssh), you will get a permission denied (GOTCHA #1). Luckily, with some digging around and reading, you can find out that your $OPENSHIFT_DATA_DIR is a place where you can read and write and it actually contains a public key for you already…. Now we just need to make sure Git uses it.
This tip of this wrapper came from the discussion here: https://forums.openshift.com/jenkins-stuff as it seems to be a popular workaround when dealing with OpenShift.
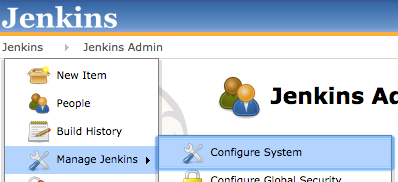
Log into your Jenkins instance. Go to Jenkins->Manage Jenkins-> Configure System
Find the Environment Variables Checkbox

Check it and add:
Name: GIT_SSH
Value: $OPENSHIFT_DATA_DIR/git-ssh-wrapper.sh

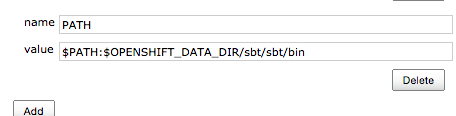
If you are using the Play Framework, you’ll need at least (Scala Build Tool) SBT installed to do testing and building.
Download it to the $OPENSHIFT_DATA_DIR folder and it to your Path by adding another Environment variable for example.
Now, we made sure Jenkins will use the SSH Key that we have access to and can share with Bitbucket (which will we do next)
Next, run: cat “$OPENSHIFT_DATA_DIR/.ssh/jenkins_id_rsa.pub” and save this public key for the next step while still logged into your instance.
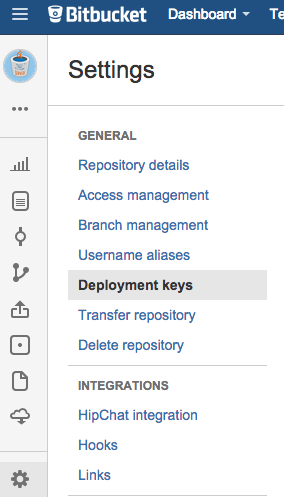
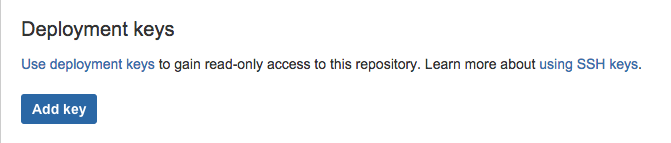
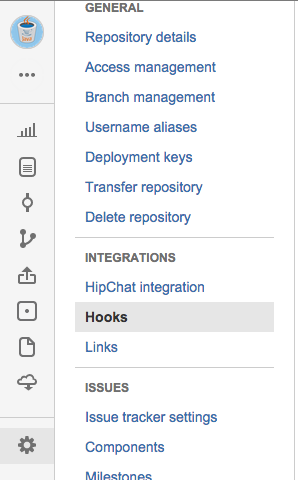
Log into Bitbucket -> Go to the Settings for the particular repo you would like Jenkins to have access to. Go to Deployment Keys (read-only access to the repository)
Paste in the public key that you just printed to screen a few steps before.
Your First Manually-Triggered Build
If you have not already, create a project for your build by clicking on Jenkins -> New Item
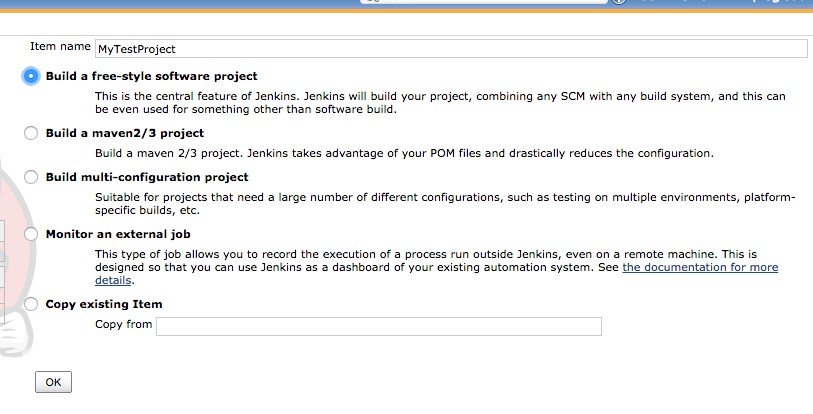
Note: Create a project name with no special characters or spaces (Useful for next section)
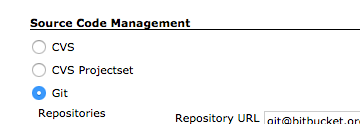
Go down to Source Code Management and select Git. Paste in the URL for your repo.
Add a build step
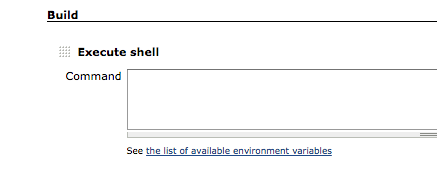
GOTCHA #2
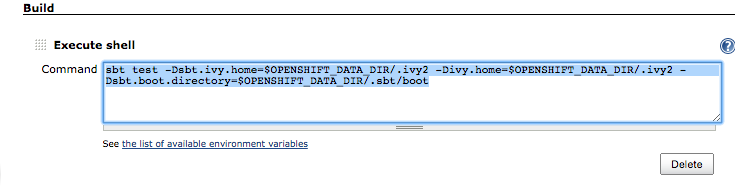
You can not simply put “sbt test” for the Play Framework tests with OpenShift. By default, it will try to add some hidden files and folders to your home directory. On our OpenShift instance, we can’t do that since we don’t have write access. So we need to tell sbt to write to the OPENSHIFT_DATA_DIR that we have write access to.
Instead, use this execute shell command
GOTCHA #3
If you have not modified the Testing settings in the build.sbt file, and run the job, it is likely that you will see this message.
This is due to the testing infrastructure in SBT in which the source can be seen here. As tests are forked, they communicate back to the original process via a socket. However, if you look at the ServerSocket call below, it places 0 which means the OS will give me a socket on whatever port is available. It will give me a port after 1024 (first 1024 are privileged only), however, OpenShift accounts can only get access to ports 15000 – 35530. So there’s a mismatch between what the system will give me vs what I have actual access to bind to which causes the problem.
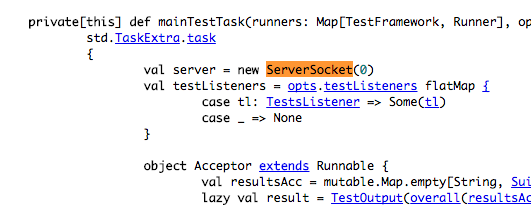
It makes no sense to compile our own SBT. However, after more reading, there are more options that can be added to the build.sbt which changes the testing infrastructure.
Instead of forking a new process to run the tests, the original process will run the tests.
Now time to build!!
Within the project
Click Build Now and you should see it added to the queue.
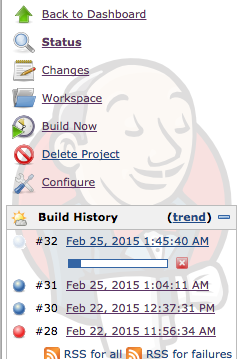
Ta-da!
Setting Up Automatic Builds Upon Push
Felix Leong has a great tutorial for this.
Begin with the “Preparing the Jenkins project” section.
He uses KeePass to generate his key. I used LastPass. You could just blindfold yourself and type a few characters out if you don’t have a random string generator.
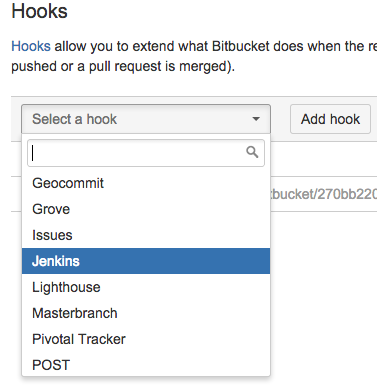
In addition, one more thing has changed. Under his “Bitbucket + Jenkins = Bliss!” heading, he mentions “services”. As of today, it’s called hooks. And you want to add a Jenkins hook. The rest of the steps for the services are correct.
Also, make sure your project in Jenkins has no spaces. It simplifies the url when you add the hook url into Bitbucket
Now push to your repository, and it should all work!
Hope you enjoyed this article!